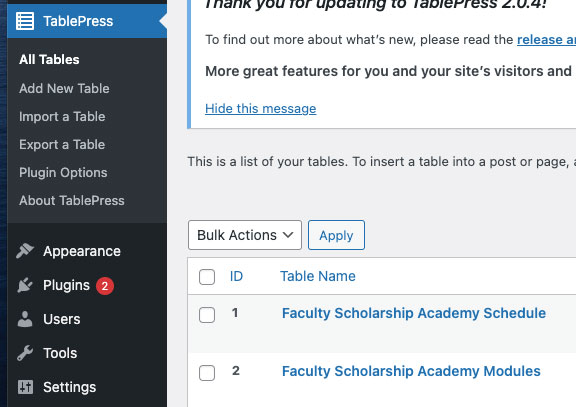
Give your table a name (this is for internal purposes and won’t show up on the table unless you want it to) and select the number of rows and columns you want (this can be amended later). Then click “Add Table.”
Now you can start to edit the individual cells of the table. Note that you can expand the cell text block by dragging from the bottom right corner (this makes it a lot easier to see what you’re doing).
Placing text in each cell is straightforward. Any other changes (such as hyperlinks, bolding, italics, etc.) requires HTML code that the widget will assist you with.
The easiest way to make all of your edits is to select “Advanced Editor” in the Table Manipulation section then click on the cell you want to edit. This will open a text editor with options at the top. From here, you can highlight the text you want to change then click an option at the top. The editor will automatically place in the appropriate HTML code.
You can preview your table at any time by selecting the “Preview” button on the top-left side of the page. Note, the preview will only show table cells with information in them. Also, your finished table will be constrained horizontally by the page dimensions it’s placed in.
The “Table Options” section contains various features you can implement for your table. The Alternating Row Colors and Row Hover Highlighting are pre-selected and tend to make the table more user friendly. The other boxes are all optional, depending on how you want your table to look.
The “Features of the DataTables JavaScript library” section contains a lot of options that will probably never be applicable for the size of tables that we’re using. As it states, those options are only available if you select the “Table Head Row” box in the previous section, which I have not for any of our existing tables.
Once you are satisfied with your table, make sure to click the “Save Changes” box in the top left corner of the page. The HTML shortcode for the table is located just below there on the right side of the Table Information box. You will copy and paste this code into the webpage you want to add it to (make sure you paste it in the “text” section, not “visual”).
After setting it up you’ll need to copy and enter a shortcode on the page/ Copy the shortcode from the TablePress area where you created the new table.
On the page where you want the table to appear, choose a New Block, and then search for the shortcode block. Paste the shortcode here.